 EN
EN  English
 Español


Many years of foreign trade experience.
Strong production capacity, and massive stock to make sure the delivery time.
ISO quality process to make sure every piece qualifies.
One-to-one service, OEM service, provides alternative efficient solutions.

 By Admin
Inspect Components: Before assembly, conduct a visual and tactile inspection of both the hose and coupling fittings. Look for any signs of damage, such as cuts, abrasions, or deformations on the hose, and inspect the coupling fittings for smoothness and integrity of threads or sealing surfaces. Identifying and addressing any issues before assembly helps prevent potential leaks.
Select Correct Size and Type: Proper sizing and type selection are critical to achieving a leak-free connection. Ensure that the hose and coupling fittings match in size and type (such as camlock, quick connect, or threaded) to prevent misalignment or inadequate sealing. Using fittings designed for the specific hose material and intended pressure and temperature range ensures compatibility and reliability.
Clean Surfaces: Cleanliness is essential for effective sealing. Thoroughly clean the hose end and the mating surface of the coupling fitting to remove dirt, grease, old sealing materials, and any contaminants that could impair the seal. Use a solvent appropriate for the materials involved to ensure a clean, dry surface.
Apply Lubrication: Apply a compatible lubricant to the sealing surfaces of the hose and coupling fittings. Lubrication facilitates easier assembly, reduces friction during tightening, and ensures even distribution of the sealing force across the entire interface. Silicone-based lubricants are often preferred for their compatibility with various materials and resistance to degradation under temperature extremes.
Inspect Seals: Check the condition of any integrated seals, O-rings, or gaskets within the coupling fittings. Inspect for signs of wear, aging, or damage such as cracks or hardness. Replace seals that show signs of deterioration to maintain reliable sealing performance. Ensure that replacement seals meet the same specifications as the original components in terms of material compatibility and sealing effectiveness.
Proper Assembly: Over-tightening can distort mating surfaces, damage seals, or cause stress concentrations that lead to leaks. Conversely, under-tightening may result in insufficient compression of seals and inadequate sealing pressure. Use a calibrated torque wrench to achieve the recommended torque values and ensure uniform tightening across multiple connections in a system.
Consider Sealants: For threaded connections, apply a suitable thread sealant or sealing tape to the male threads before assembly. Choose a sealant that is compatible with the fluid being conveyed and the materials of the hose and fittings. Ensure that the sealant forms a reliable barrier against leaks without compromising the integrity of the connection. Follow manufacturer instructions regarding application methods and curing times to achieve optimal sealing performance.
Test the Connection: After assembly, conduct a pressure test to verify the integrity of the connection. Gradually increase pressure to the maximum operating level specified for the system while monitoring for any signs of leakage. Perform a visual inspection of all connection points and joints during the pressure test to detect any potential leaks. Address any leaks immediately by adjusting assembly torque, replacing seals, or applying additional sealing measures as necessary.
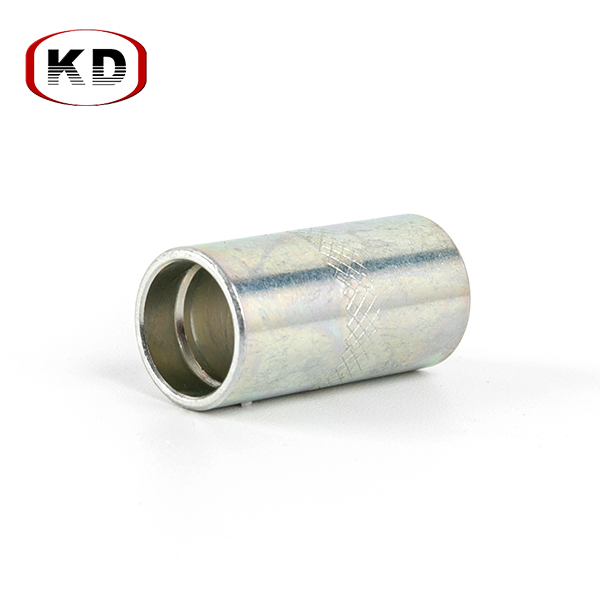
Coupling For 1TE 2TE R6 1SC SAE100R17 High temperature resistance Hose
let's
Many years of foreign trade experience.
Strong production capacity, and massive stock to make sure the delivery time.
ISO quality process to make sure every piece qualifies.
One-to-one service, OEM service, provides alternative efficient solutions.
Copyright © Ningbo Kangdi Hydraulic Co., Ltd. Rights Reserved.
Wholesale Hose Fittings Manufacturers
